Understanding Golfer’s Elbow
Golfers elbow, or medial epicondylitis, stems from tendon overuse, causing pain on the elbow’s inner side and forearm; rest, ice, and therapy aid recovery.
What is Golfer’s Elbow (Medial Epicondylitis)?
Golfers elbow, clinically known as medial epicondylitis, is a condition impacting the tendons connecting forearm muscles to the inner elbow’s bony prominence. This ailment arises from repetitive strain or overuse, leading to inflammation and pain. While named for golfers, anyone performing repetitive wrist and forearm motions is susceptible.
The pain typically manifests on the elbow’s outer side, radiating down the forearm. Activities like gripping, wrist flexing, or even simple tasks can exacerbate discomfort. It’s a soft tissue injury, not an acute trauma, developing gradually over time. Understanding this gradual onset is crucial for effective management and preventative measures, often involving targeted exercises and rest.
Causes and Risk Factors
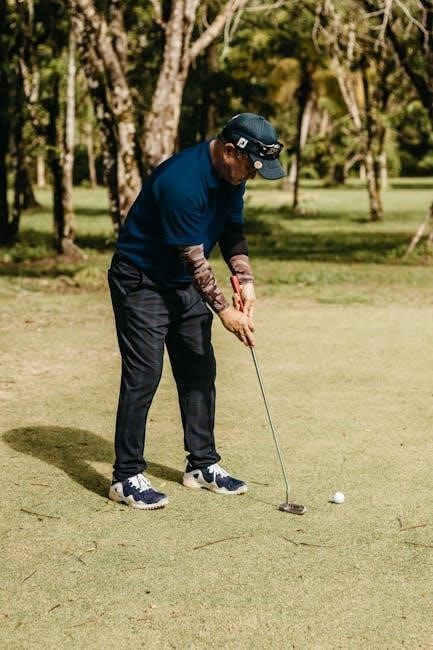
Golfers elbow primarily develops from repetitive motions stressing the forearm muscles and tendons. Activities involving forceful wrist flexion, gripping, and pronation are key contributors. Golfing, unsurprisingly, is a common cause, particularly with improper technique. However, other sports like tennis, baseball, and even weightlifting can induce the condition.
Certain factors elevate risk. Individuals in occupations requiring repetitive arm movements – carpenters, plumbers, and mechanics – are more prone. Age also plays a role, as tendons lose elasticity with time. Poor conditioning, inadequate warm-up routines, and improper equipment usage further increase susceptibility. Addressing these factors is vital for prevention and successful rehabilitation.
Diagnosis of Golfer’s Elbow
Diagnosis involves a physical exam to assess tenderness and pain location, alongside ruling out other conditions like ulnar nerve issues or arthritis for accurate treatment.
Physical Examination
A thorough physical examination is crucial for diagnosing golfer’s elbow. The healthcare professional will begin by discussing your medical history and symptoms, specifically focusing on the onset and characteristics of your elbow pain. They’ll then physically assess your elbow, palpating the medial epicondyle – the bony bump on the inside of your elbow – to pinpoint tenderness.
Specific tests are performed to reproduce your pain and assess the affected muscles. These include resisted wrist flexion, where you attempt to bend your wrist against resistance, and passive wrist extension, where the examiner bends your wrist for you. Range of motion assessments will also be conducted. Observing how you perform daily activities can provide further insight into how the condition impacts your function. The examination helps determine the severity and guides appropriate treatment strategies.
Ruling Out Other Conditions
Accurate diagnosis necessitates differentiating golfer’s elbow from other conditions causing similar elbow pain. Ulnar nerve entrapment, which can cause numbness and tingling in the fingers, needs exclusion. Radiographic imaging, like X-rays, can rule out fractures or arthritis, though these don’t directly show tendon issues.
Conditions like cervical radiculopathy (pinched nerve in the neck) can refer pain to the elbow, requiring neurological assessment. Less common possibilities, such as ligament injuries or referred pain from the shoulder, are also considered. A careful evaluation of your symptoms, physical exam findings, and potentially imaging results are combined to ensure a precise diagnosis. This prevents misdiagnosis and ensures you receive the most effective treatment plan tailored to your specific condition.

Golfer’s Elbow Exercises: A Comprehensive Guide
A structured exercise plan, progressing through pain relief, strengthening, and functional phases, is crucial for golfer’s elbow recovery and restoring full arm function.
Phase 1: Pain Relief & Initial Exercises
Initial management focuses on reducing pain and inflammation. Ice application, applied after exercises, is vital for minimizing discomfort and swelling. A protocol of 15-20 minutes, several times daily, is recommended. Gentle stretching is introduced cautiously, avoiding movements that exacerbate pain. These stretches aim to maintain flexibility without stressing the injured tendons.
Focus on pain-free range of motion. Begin with wrist extension and flexion stretches, holding each for 15-30 seconds. Avoid forceful or rapid movements. The goal is to alleviate pain and prepare the elbow for subsequent strengthening exercises. Rest is also paramount during this phase, avoiding activities that aggravate the condition. Prioritize comfort and gradual progression.
Ice Application Protocol
Effective ice application is crucial for managing golfer’s elbow pain and inflammation. Apply ice packs, wrapped in a thin towel to protect the skin, directly to the affected elbow area. Sessions should last 15-20 minutes each, repeated several times daily – typically every 2-3 hours – especially after performing any exercises.
Ensure the ice pack doesn’t directly contact the skin to prevent frostbite. Monitor the skin for any signs of excessive redness or numbness. Consistent icing helps reduce swelling, alleviate pain, and promote healing. This protocol is particularly important in the initial phases of recovery, alongside rest and gentle stretching, to create an optimal environment for tissue repair.
Gentle Stretching Exercises
Initiating gentle stretches is vital in the early stages of golfer’s elbow recovery, enhancing flexibility and reducing muscle tension. Begin with wrist flexor stretches: extend your affected arm, palm up, and gently bend your wrist downwards using your other hand. Hold for 15-30 seconds, repeating 2-3 times.
Next, perform wrist extensor stretches: extend your arm, palm down, and gently bend your wrist downwards. Again, hold for 15-30 seconds, repeating 2-3 times. Avoid any sharp or intense pain during these stretches. These movements should be slow and controlled, focusing on a comfortable range of motion. Consistency is key to improving flexibility and preparing the muscles for strengthening exercises.
Phase 2: Strengthening Exercises
Transitioning to strengthening exercises is crucial after initial pain subsides. This phase focuses on rebuilding muscle strength in the forearm. Begin with the eccentric wrist extension exercise: rest your forearm on a table, palm up, with your hand hanging off the edge.
Hold a light weight and slowly lower your hand downwards, controlling the movement. Then, use your other hand to bring it back up. Repeat 10-15 times. Simultaneously, incorporate wrist flexion strengthening by using a resistance band; flex your wrist against the band’s resistance. Perform 10-15 repetitions. Remember to prioritize proper form over weight, gradually increasing resistance as strength improves.
Eccentric Wrist Extension Exercise
The eccentric wrist extension is a cornerstone of Golfer’s Elbow rehabilitation. Position your forearm on a table, allowing your hand to extend beyond the edge, palm facing upwards. Hold a light dumbbell – start with 1-2 pounds. Slowly lower the weight, focusing on controlling the descent, which is the eccentric portion of the exercise.
This controlled lowering strengthens the wrist extensor muscles. Avoid quick movements. Use your non-affected hand to assist in lifting the weight back to the starting position, concentrating solely on the controlled lowering. Perform 3 sets of 10-15 repetitions. Apply ice after completing the exercise to minimize any potential soreness.
Wrist Flexion Strengthening
Wrist flexion strengthening targets the muscles on the palm side of your forearm, crucial for counteracting the forces causing Golfer’s Elbow. Sit with your forearm resting on a table, palm facing up. Hold a light dumbbell (1-2 lbs) in your hand. Slowly curl your wrist upwards, lifting the weight towards your forearm.
Maintain a controlled motion throughout the exercise. Focus on squeezing your forearm muscles as you lift. Slowly lower the weight back to the starting position. Perform 3 sets of 10-15 repetitions. Remember to prioritize proper form over lifting heavy weights. Ice application post-exercise can help manage any discomfort and promote recovery.

Phase 3: Advanced Strengthening & Functional Exercises
Phase 3 focuses on restoring full function and preparing for return to activity. Forearm pronation/supination exercises involve holding a light weight and slowly rotating your forearm palm up (supination) and palm down (pronation). This improves rotational strength.
Grip strengthening exercises, using a hand gripper or stress ball, rebuild hand and forearm endurance. Gradually increase resistance as strength improves. Simulate golfing motions with light swings, focusing on proper technique. Prioritize controlled movements and listen to your body, stopping if pain arises. Consistent practice and gradual progression are key to a successful recovery and preventing re-injury.
Forearm Pronation/Supination Exercises
Forearm pronation/supination exercises are crucial for rebuilding rotational strength in the forearm, essential for many activities. Sit comfortably with your elbow bent at 90 degrees and supported. Hold a light dumbbell (1-2 lbs) or hammer.
Slowly rotate your forearm so your palm faces up (supination), then rotate it so your palm faces down (pronation). Maintain control throughout the movement. Perform 2-3 sets of 10-15 repetitions. Focus on a slow, deliberate pace. Avoid any jerky motions. As strength increases, gradually increase the weight. This exercise targets the muscles responsible for forearm rotation, aiding in functional recovery.
Grip Strengthening Exercises
Grip strengthening exercises are vital for restoring hand and forearm function, impacting daily tasks and athletic performance. Utilize a tennis ball or stress ball; squeeze it firmly for 5-10 seconds, then release. Repeat 10-15 times for 2-3 sets.
Alternatively, use a hand gripper – choose a resistance level appropriate for your strength. Slowly squeeze and release, focusing on a controlled motion. Another option is towel wringing; wring out a wet towel, alternating directions. These exercises enhance grip strength, improving forearm muscle endurance and supporting overall elbow recovery. Remember to avoid overexertion and listen to your body.
Creating a Golfer’s Elbow Exercise PDF
A comprehensive PDF should detail exercises, proper form, sets/reps, and progression; clarity and accessibility are key for effective self-management and recovery.
Essential Components of a PDF Guide
A well-structured PDF for golfer’s elbow exercises must include a clear introduction defining the condition and its causes. Detailed exercise descriptions, accompanied by illustrative images or videos, are crucial for proper form. Each exercise should specify the number of sets, repetitions, and rest periods.
Progressive phases – pain relief, strengthening, and functional exercises – should be distinctly outlined. Important considerations like ice application protocols post-exercise must be included. A section on common mistakes to avoid will enhance safety and effectiveness.
Furthermore, a disclaimer advising consultation with a healthcare professional before starting any new exercise program is essential. Finally, a section dedicated to recognizing when to seek professional help, beyond self-management, completes a truly useful guide.
Formatting for Clarity and Accessibility
Effective PDF formatting is paramount for user comprehension. Utilize a clear, readable font size (12pt or larger) and ample white space to prevent visual clutter. Employ headings and subheadings consistently to organize content logically. Bullet points and numbered lists enhance readability for exercise instructions and precautions.
Images or videos demonstrating correct exercise form are invaluable; ensure they are high-resolution and appropriately captioned. Consider using color-coding to differentiate exercise phases or highlight important notes.
Accessibility features, such as alt text for images and properly tagged headings, are vital for users with disabilities. A searchable PDF format allows users to quickly locate specific exercises or information. Finally, a table of contents provides easy navigation.

Preventing Golfer’s Elbow
Proper technique, consistent warm-ups, and cool-downs are crucial for prevention; strengthening forearm muscles and avoiding overuse minimizes the risk of developing this condition.
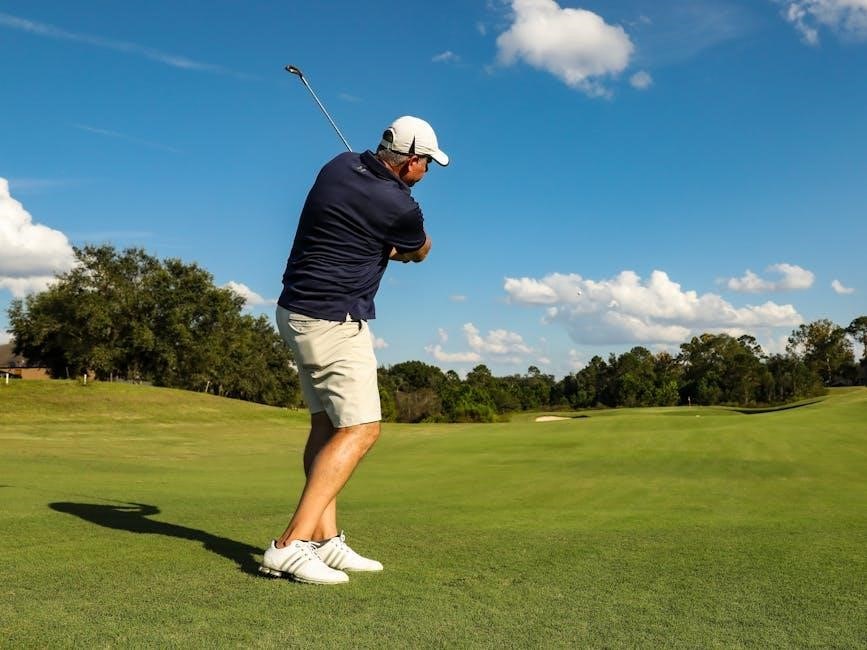
Proper Golfing Technique
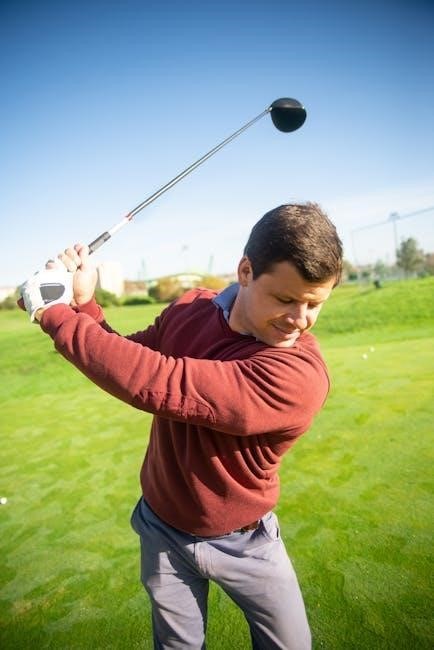
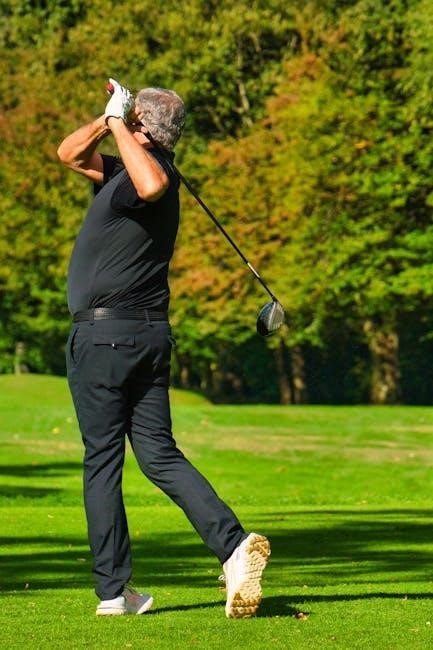
Maintaining correct form during the golf swing is paramount in preventing golfer’s elbow. A flawed swing often places excessive stress on the forearm tendons, leading to inflammation and pain. Focus on a smooth, controlled motion, avoiding jerky movements or overextension.
Ensure a proper grip – not too tight, not too loose – to minimize strain. A neutral wrist position throughout the swing is also vital. Many professionals recommend lessons from a qualified golf instructor to identify and correct any biomechanical issues.
Avoid “casting” or releasing the club too early, as this can contribute to increased stress on the elbow. Prioritizing technique over power will significantly reduce the risk of developing medial epicondylitis and allow for a more sustainable and enjoyable golfing experience.
Warm-up and Cool-down Routines
Prior to each golf session, a thorough warm-up is crucial for preparing the forearm muscles and tendons. Dynamic stretches, such as wrist circles, forearm rotations, and gentle elbow bends, increase blood flow and flexibility, reducing injury risk. Focus on movements that mimic the golf swing, gradually increasing range of motion.
A proper cool-down is equally important. Static stretches, holding each stretch for 20-30 seconds, help to lengthen muscles and prevent stiffness. Include stretches targeting the wrist flexors and extensors.
Applying ice after playing can further reduce inflammation and promote recovery. Consistent warm-up and cool-down routines are a proactive step towards preventing golfer’s elbow and maintaining optimal performance.
When to Seek Professional Help
Persistent pain despite rest, ice, and exercises warrants a physiotherapist’s evaluation; medical interventions might be needed for severe cases or lack of improvement.
Consulting a Physiotherapist
A physiotherapist plays a crucial role in golfers elbow recovery, offering a tailored exercise program to address individual needs. They’ll assess your condition, identifying the specific muscles and tendons affected, and then design a progressive plan. This typically begins with pain management techniques, like guidance on ice application post-exercise, and gentle stretching to restore flexibility.
Subsequently, the physiotherapist will introduce strengthening exercises, starting with eccentric wrist extensions – a cornerstone of treatment – and progressing to more functional movements. They’ll also provide advice on proper form during exercises and daily activities to prevent re-injury. Crucially, a physiotherapist can rule out other potential causes of elbow pain and ensure accurate diagnosis and treatment. They’ll monitor your progress, adjusting the program as needed, and ultimately help you return to your desired activity level.
Medical Interventions

While physiotherapy is often the first line of defense, medical interventions may be considered if conservative treatments – including exercises – prove insufficient. Over-the-counter pain relievers like Advil or Aleve can help manage discomfort, reducing inflammation and allowing for better participation in rehabilitation. In some cases, a doctor might recommend a corticosteroid injection to provide temporary pain relief, but this doesn’t address the underlying cause.
More rarely, surgery may be necessary for severe, chronic cases unresponsive to other treatments. This typically involves releasing the affected tendons to alleviate pressure. However, surgery is generally reserved as a last resort; Following any medical intervention, a structured rehabilitation program, guided by a physiotherapist, remains essential to restore full function and prevent recurrence.